Setting up OpenGL development environment in Ubuntu Linux
Introduction
The scope of this article deals with setting up the OpenGL and freeglut libraries in Ubuntu, in order to develop graphics applications using the said technologies. OpenGL is a platform independent graphics API, and freeglut is the successor of the OpenGL Utility Toolkit (GLUT) which enables a generic approach to creating and handling windows and other functions in different platforms. This article describes how these two packages can be installed in Ubuntu, and employed in a simple C++ program in order to test if they are installed and working properly
Prerequisites
There are a few things that need to be accounted for, before the OpenGL and freeglut can be set up and used by the system.
- A working Ubuntu system (the system I worked on was running Ubuntu 10.10)
- If a graphics card is employed, the necessary drivers should be installed (see this link)
- The packages necessary for C/C++ compilation should be installed. The best way is to install the build-essential package, which contains everything needed (see this link)
Installing the OpenGL and freeglut libraries
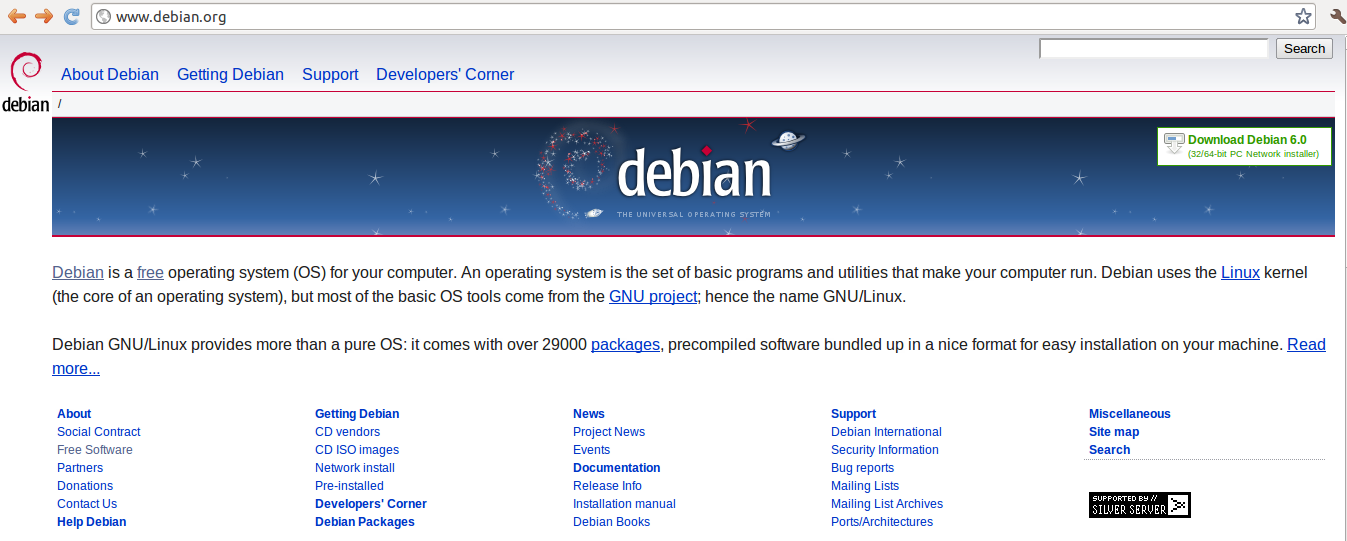
In order to ensure that we select the latest versions of the libraries, navigate to www.debian.org and select the Debian packages option (Found under the 'Developers corner' top menu item):
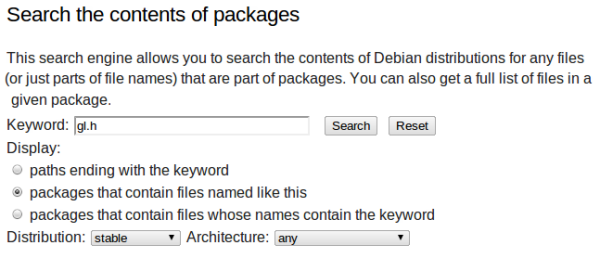
Scrolling down in the Packages page, you would come to the 'Search the contents of packages' section. In essence, what we need to search for are the header files gl.h and glut.h, in order to get the OpenGL and freeglut packages containing them. Additionally, the latest version of the packages will be offered, which is what we need. Search for gl.h as shown in the below image (set the display option to 'packages that contain files named like this'):
Once the search results are displayed, we have to select the package that is specified for /usr/include/GL. Thus, in the below image, the package that needs to be installed would be the 'mesa-common-dev' package:

The same procedure has to be followed for the file glut.h. Search for the glut.h header file, and select the package specified for /usr/include/GL (The package would be "freeglut3-dev" if you searched correctly). In general, if you need to install a package, but are not sure which it is, or if it is the latest version, you can search in the above mentioned manner if you know the name of a file in the package.
Once we know the package names for OpenGL (mesa-common-dev) and freeglut (freeglut3-dev),
installing them is a matter of opening a terminal window and entering the
apt-get command for the packages:
sudo apt-get install mesa-common-devsudo apt-get install freeglut3-dev
If the installation went smoothly, you would be able to see the following content in your /usr/include/GL directory location:

Now that the OpenGL and freeglut libraries are configured in the system, the next step would be use them in a simple program and test if everything works correctly, and to see if we have an environment where we can start designing and coding OpenGL graphics applications.
Testing
To test whether the OpenGL and freeglut libraries work properly, we will write a simple program utilizing the library API's. The C++ program will use the code in the OpenGL Red book (this should be a definite read if you are planning to develop using OpenGL) found under the heading "A very simple OpenGL program". The following code listing shows the program:
#include "GL/freeglut.h"
#include "GL/gl.h"

/* display function - code from: http://fly.cc.fer.hr/~unreal/theredbook/chapter01.html
This is the actual usage of the OpenGL library. The following code is the same for any platform */
void renderFunction()
{
	glClearColor(0.0, 0.0, 0.0, 0.0);
	glClear(GL_COLOR_BUFFER_BIT);
	glColor3f(1.0, 1.0, 1.0);
	glOrtho(-1.0, 1.0, -1.0, 1.0, -1.0, 1.0);
	glBegin(GL_POLYGON);
		glVertex2f(-0.5, -0.5);
		glVertex2f(-0.5, 0.5);
		glVertex2f(0.5, 0.5);
		glVertex2f(0.5, -0.5);
	glEnd();
	glFlush();
}


/* Main method - main entry point of application
the freeglut library does the window creation work for us, regardless of the platform. */
int main(int argc, char** argv)
{
	glutInit(&argc, argv);
	glutInitDisplayMode(GLUT_SINGLE);
	glutInitWindowSize(500,500);
	glutInitWindowPosition(100,100);
	glutCreateWindow("OpenGL - First window demo");
	glutDisplayFunc(renderFunction);
	glutMainLoop();
	return 0;
}
Once you enter the above code in a text editor and save it as a cpp file,
firstWindow.cpp for example, open up a terminal window and navigate to the
location of firstWindow.cpp. Here, you will compile the program to get
an executable, by typing g++ firstWindow.cpp -lglut. The -lglut
is to link the file to the freeglut library. If everything goes ok, you will get
the traditional a.out file. Running the executable by typing ./a.out
at the command line, should display the results of the code listing above:
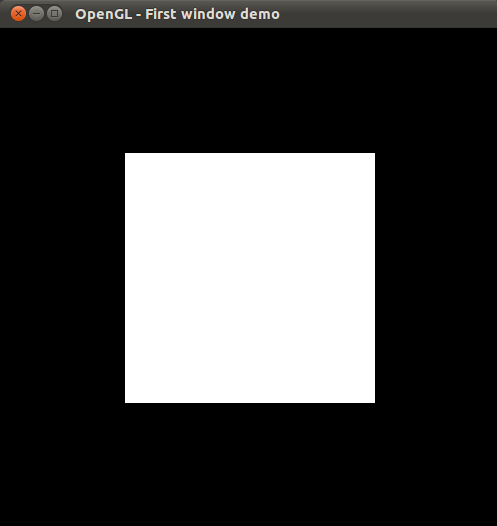
And that's all there is to it. From this point onwards, it is a matter of using the different OpenGL functions and customizing how you write programs. If this first hurdle of trying to compile and run an OpenGL program is successfully crossed, the rest is a matter of learning how to program in OpenGL and be creative.
Points of Interest
I was looking into setting up OpenGL and freeglut along with SDL (for easy mouse and keyboard events processing), and maybe OpenAL (for audio). There are good rendering engines out there (check out Ogre3D), but if you looking at developing games, everything (rendering, input, audio, physics etc) comes into play. I will write more articles in the future, if I come across any new interesting developments :)
History
- 15th April 2011 - initial write-up and publishing of article
 "
"发表评论
 crorkservice[37.233.27.*]2014/7/19 20:30:49#1
6uNpYC Really informative blog article.Really thank you! Will read on...